The Doomsday Machine
For those who don't think the keel of the a cabin cruiser can resemble an intergalactic planet killer, I offer this photographic evidence:
The keel

The Planet Killer
And coincidentaly enough, the name of the ship the Doomsday Machine laid waste to is, you guessed it:

The Constellation.
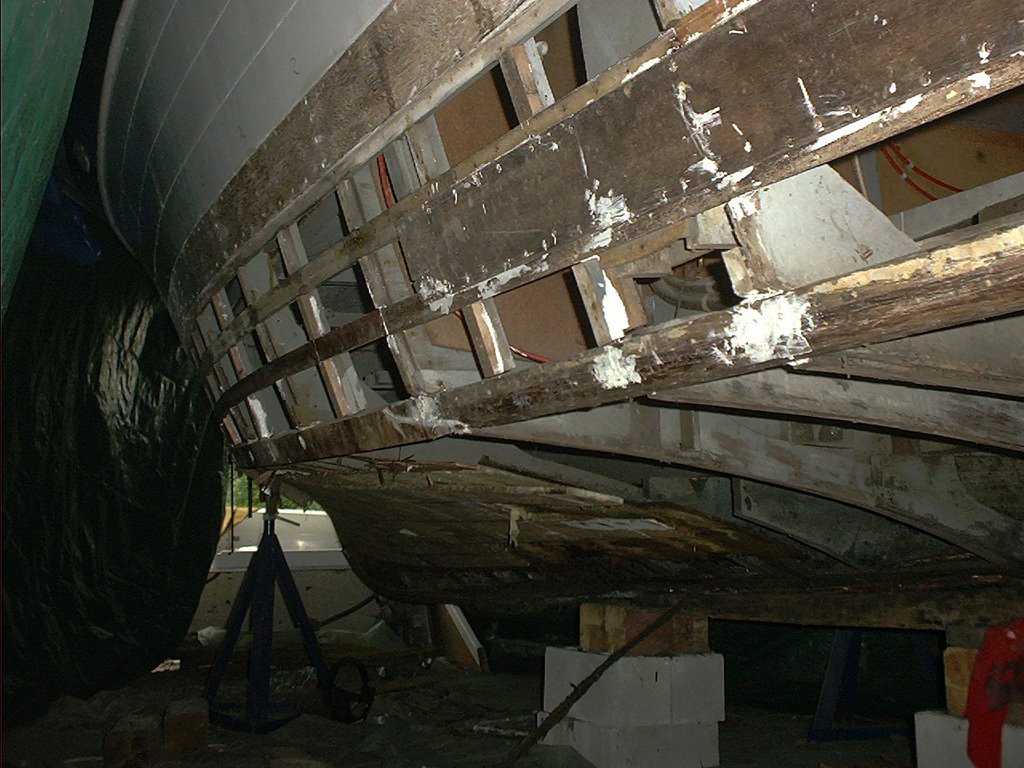
Not to get ahead of ourselves. Keels do not remove themselves, nor do they often need to be removed. But this Constellation, like its Starfleet counterpart, is a mess.
Segments of the keel were collapsing into the hull at the points where it was blocked up. This told me there were some serious rot issues at the top of the keel. Falling back on first principles, I decided to take the most invasive (and time-consuming) approach to ensure that the problem is fixed properly. That meant pulling off the entire section of bottom along the keel, which revealed a whole whack of ugliness, as addressed in earlier posts.
To drop the section of keel in question, I had to remove blocks from a fourteen foot length of the middle of the boat. To improve structural integrity before I shifted the load of the boat to such a significant degreee I elected to first reattach the entire port side planks above the chine with 3m 5200 and silicon bronze fasteners.
Before...
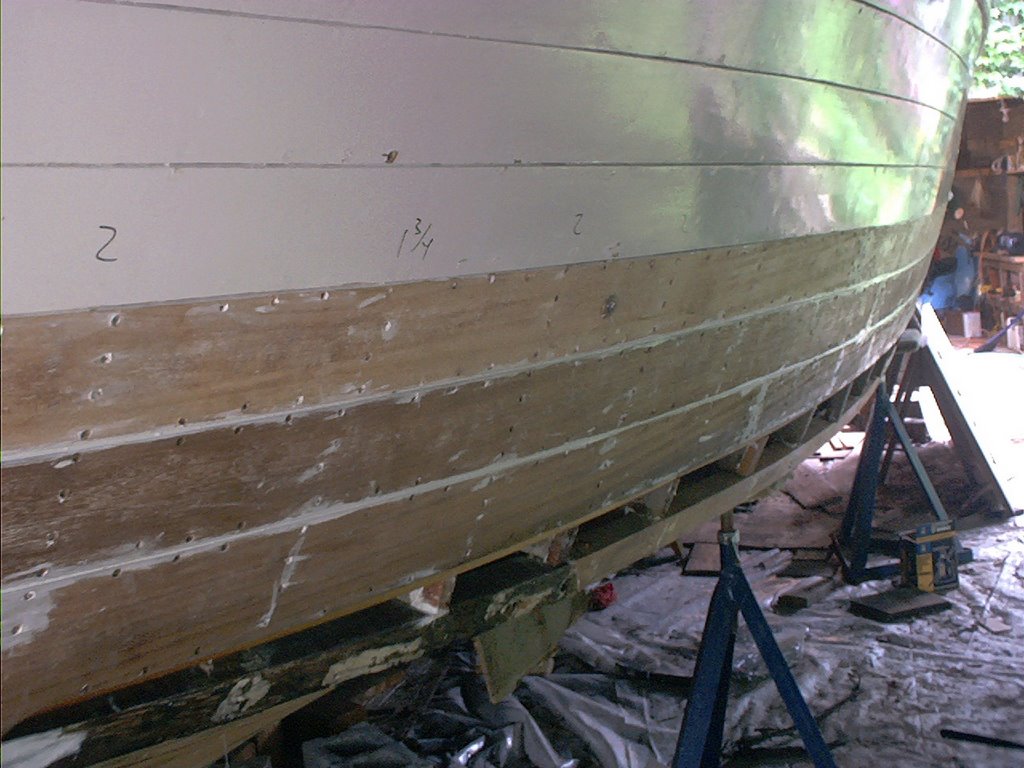
...and after. The numbers written in black above the waterline are reminders of which screw length to use. Earlier mistake, lesson learned.
Shifting that much load is an exercise in structural engineering, and I am not a structural engineer. After much thought, I used four three-ton jacks at the chine to carry some of the load midships. I also blocked the keel at the bow and immediately aft of the section to come off. Removing the blocks midships took some work with a six-ton hydraulic jack. Some scary creaking, but no limbs lost.
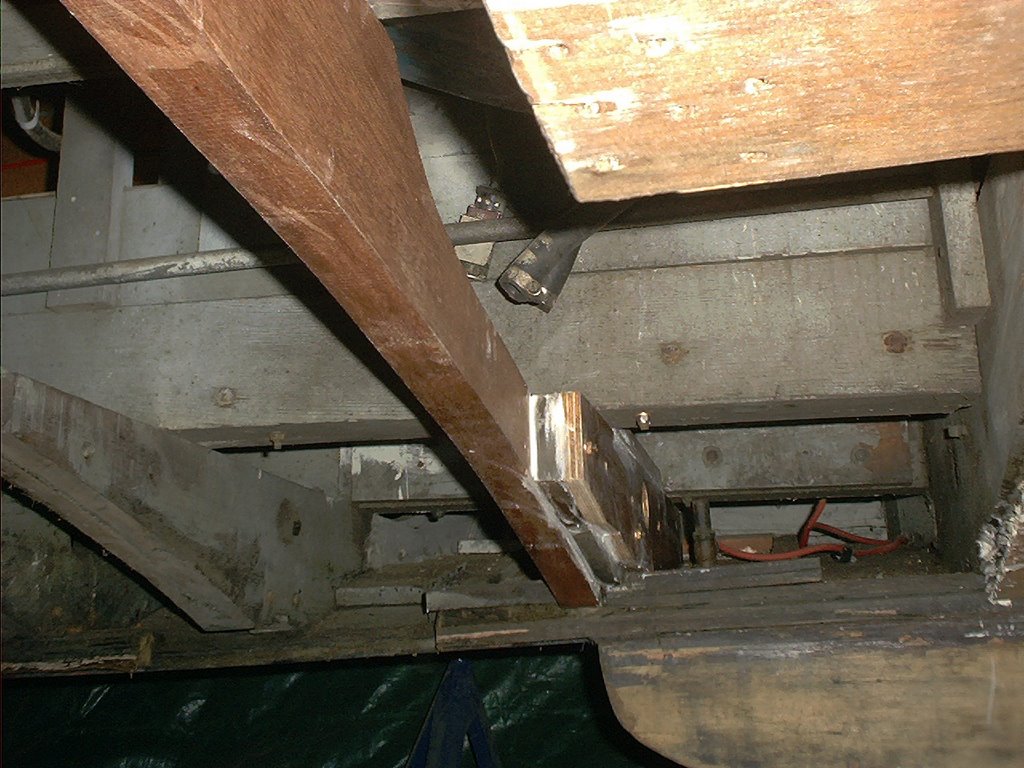
From that point, it was a relatively simple matter of loosening the bolts and gentling prying the keel loose of its caulking.
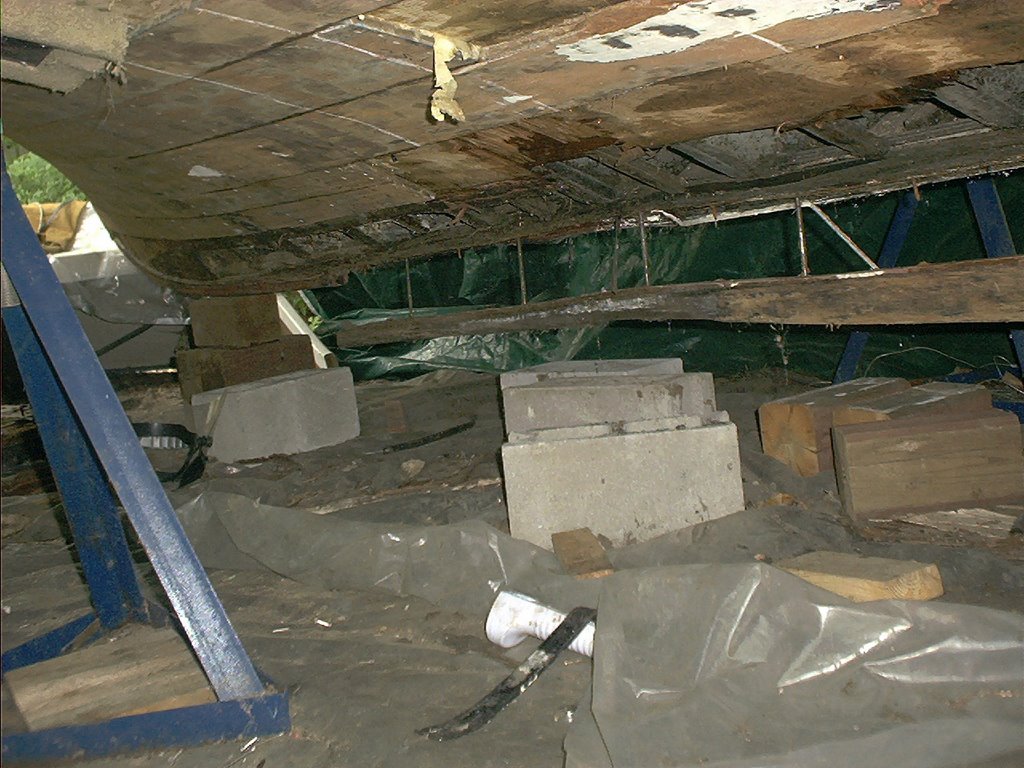
The keel coming off. One of the three ton jacks can be seen on the left. I bought these at the beginning of the project, for what seemed too much money, but they have proved invaluable.
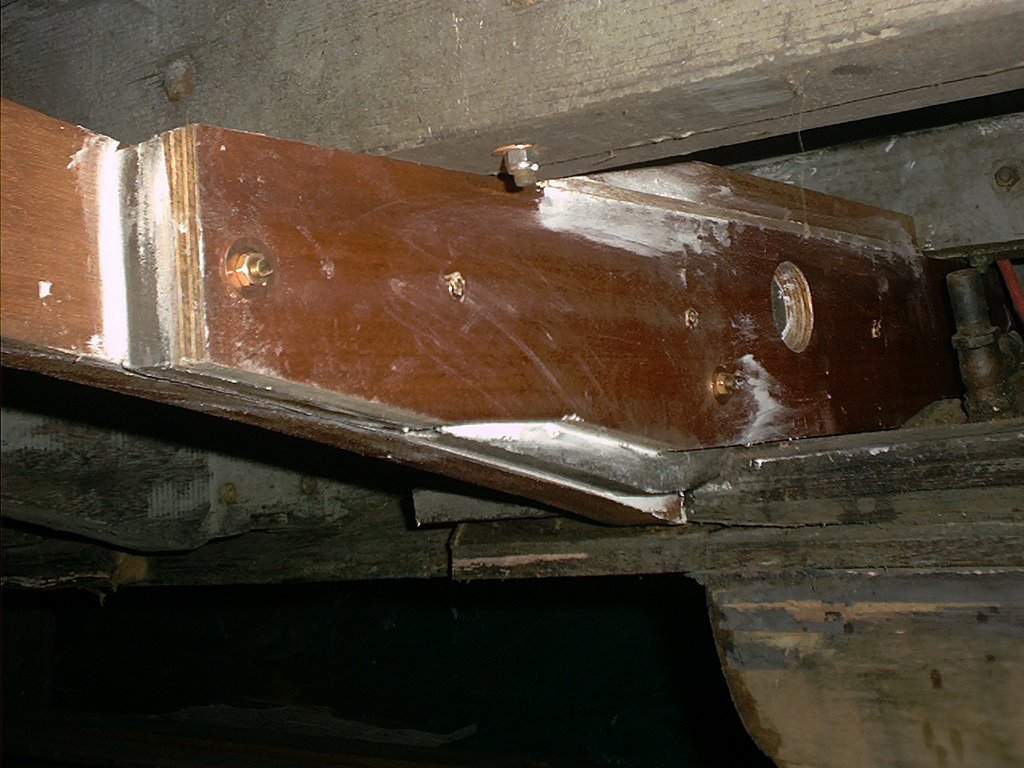
Next, it was time to see what exactly the trouble was. It became pretty apparent pretty quickly. The keel sits on another section of Philipine mahogany that essentially forms the bilge. After forty years of life and too many years on blocks, it has rotted and warped into a mushroom shape. Fabricating a replacement will be a challenge.
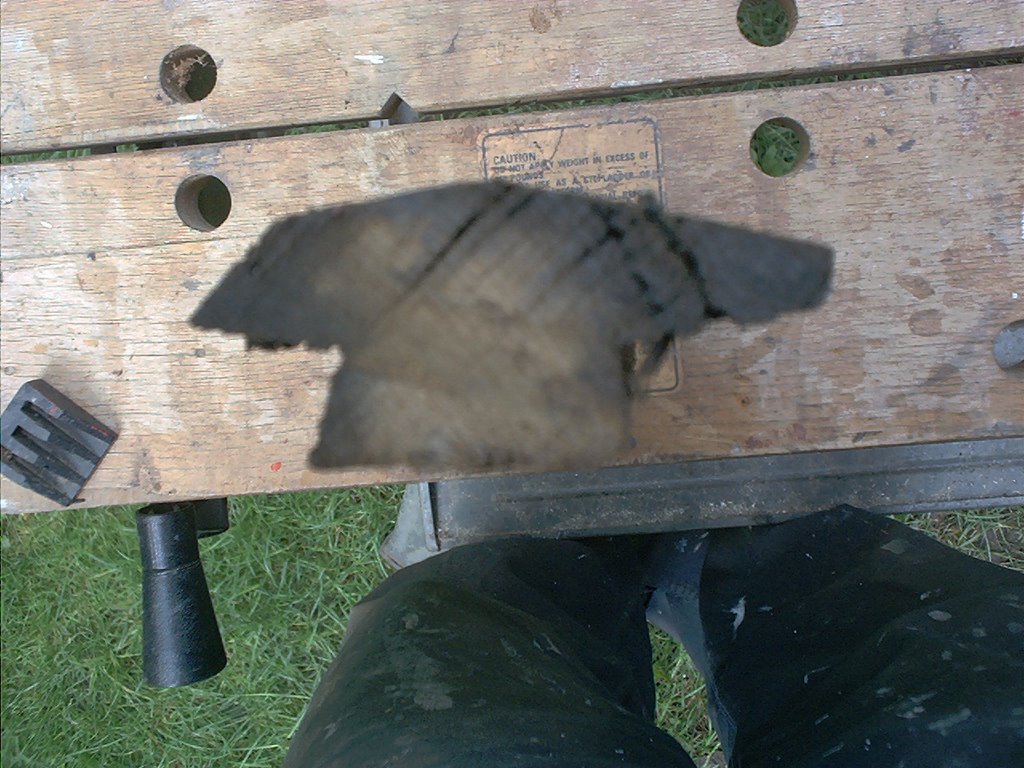
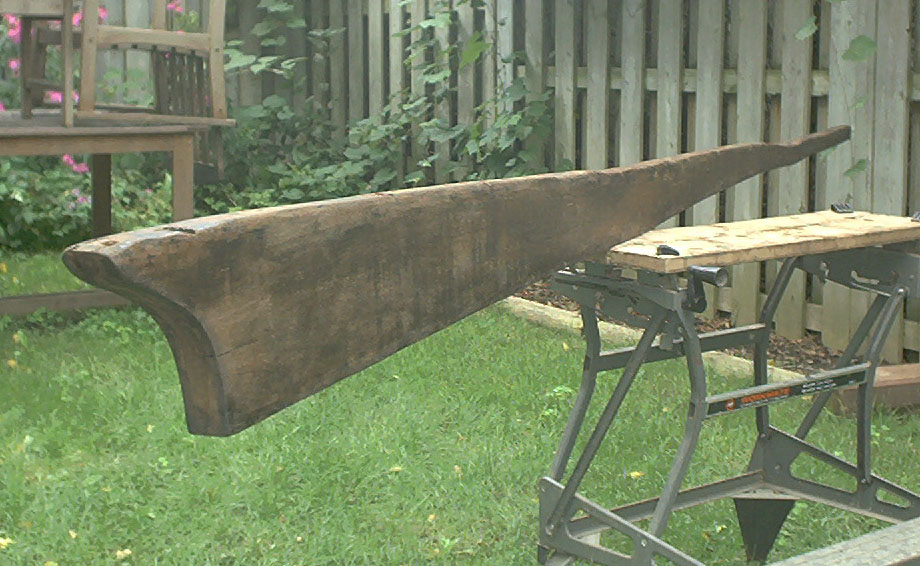
Not a great photo, but this is a section of the rotted upper keel (should I be calling it another name) on my WorkMate bench.
I realize this warping is caused by a gap in the frames at the point where the meet the keep. At first this seems like a design flaw, but then I realize: it is a channel for bilge water to flow to the lowest point in the boat. No wonder it rotted; this wood has been soaking in water and oil four forty years.
There is more damage to repair, and it takes priority, because it forms the structure between the keel and the chine. Two frames have badly deteriorated. I removed them and reassembled them on fresh, thick (1 7/8) lumber. Rather than cut the lumber down to match the original, I choose to keep it thick. I don't want this happening again.
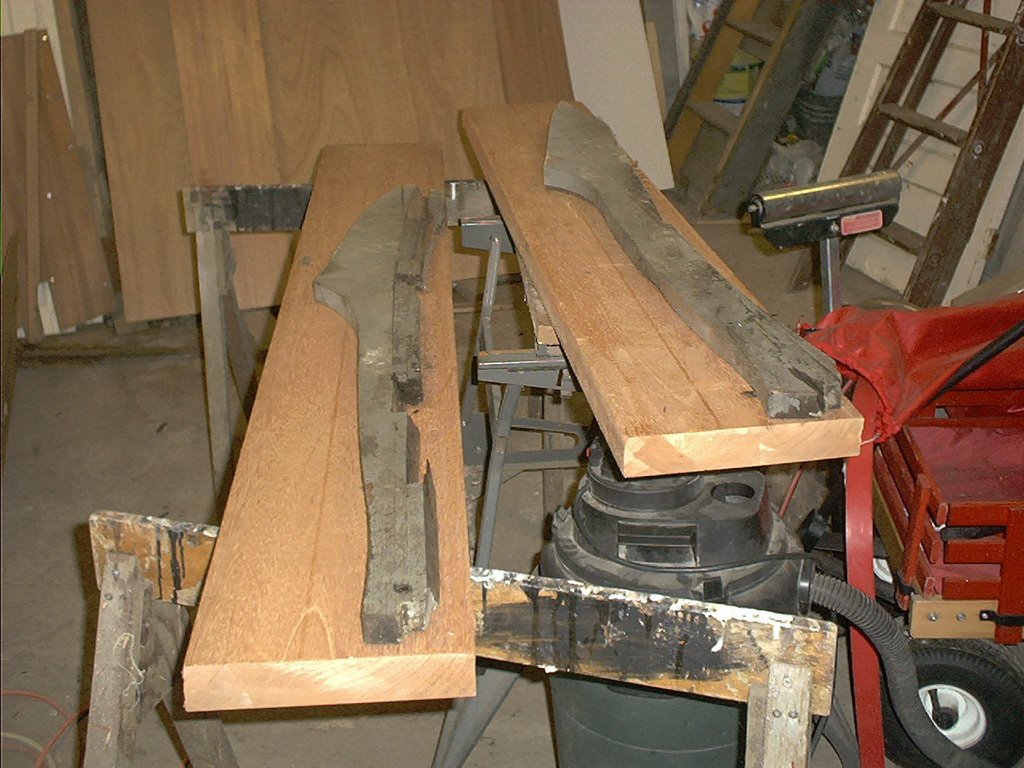

The scale of the new wood may seem like overkill, but it was the thinnest I could find in these dimensions. I'm saving every piece of scrap, it's sure to be needed later.
Next, I address a very scary sight: I significantly deterioated centre section of frame. There is no way for me to remove this; instead, I decide to scribe a support piece and use 3m 5200 to join it to the damaged section.
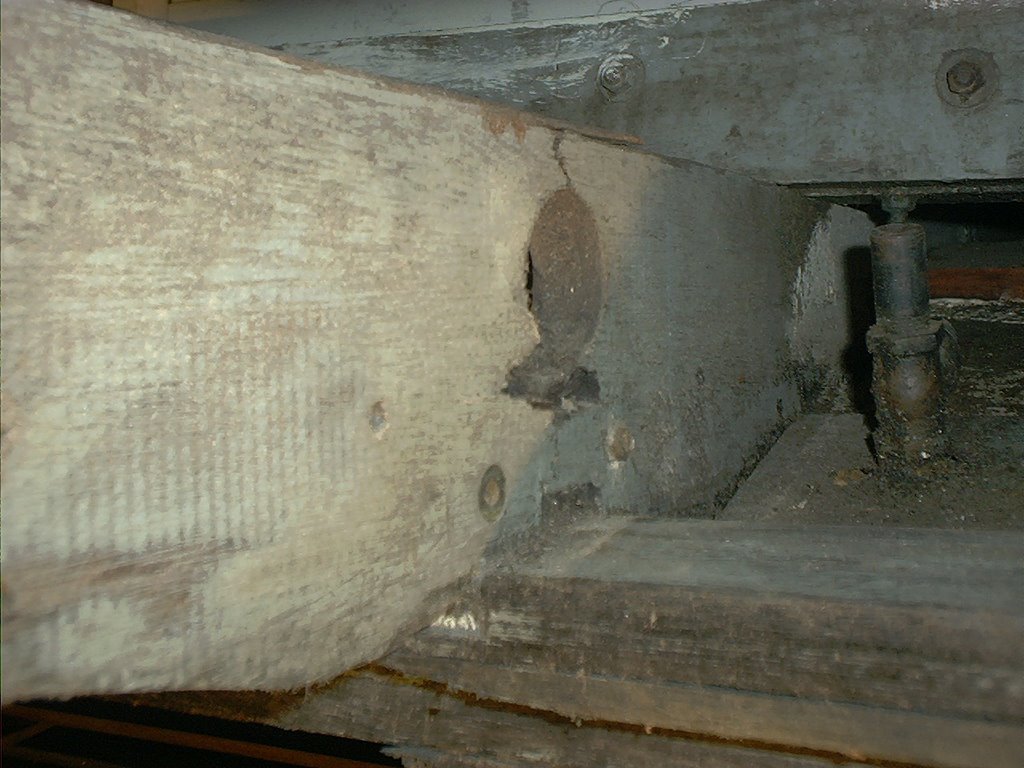
Scary crack, waiting for...
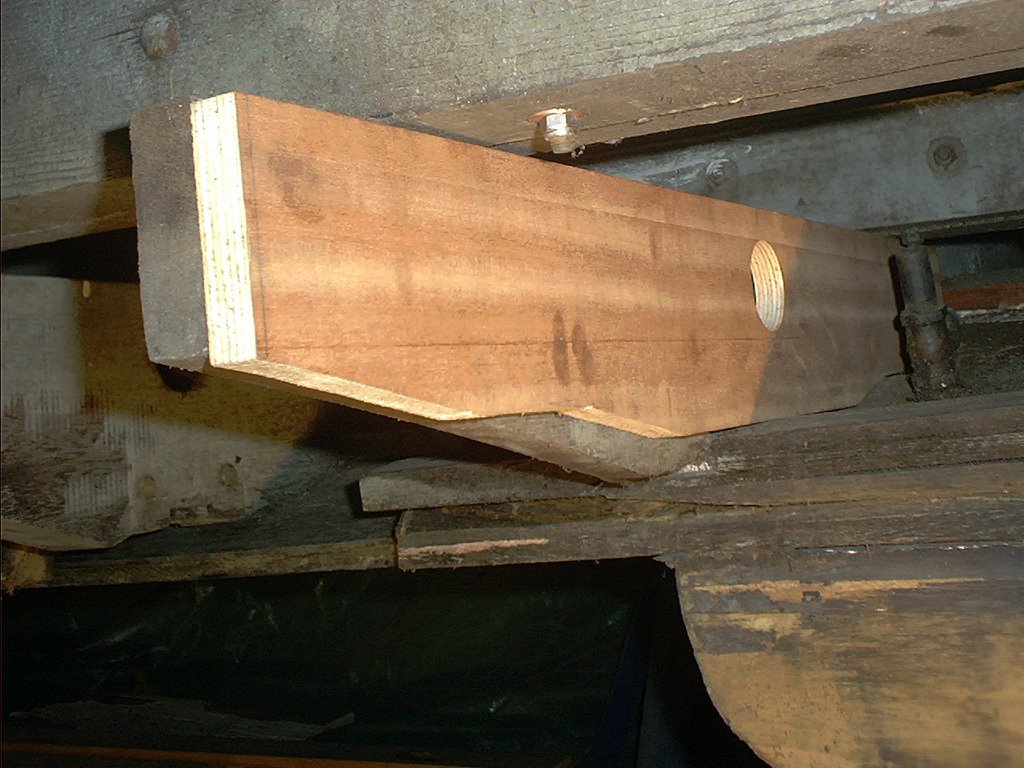
...new wood to the rescue
Some CPES, 3m 5200 and silicon bronze threaded rod later, this section is repaired, and after it cures, I can get about removing and replacing the first section of upper keel.
posted by Tilden Catz @ 2:03 PM
0 comments
![]()
![]()
