Wednesday, July 08, 2009

1964 Constellation For Sale


If you'd like more information, please email me.

Brief details:
34 foot 1964 Chris Craft Constellation.
Perfect project boat for someone looking for a liveaboard with a lot of character. Included with the boat are several thousand silicon bronze screws, original shop drawings, all fixtures.
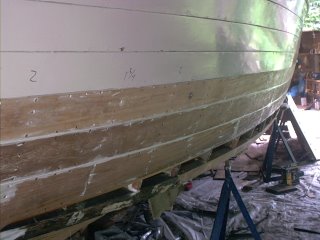
Much interior work complete, bottom mid-restoration, electrical, plumbing and engine work yet to be done.


Price is negotiable. My main objective is to find someone who will see this project to completion and give this beautifully designed and built boat the second life it deserves.

Wednesday, September 13, 2006

Bottom Progress Report

After a tough weekend of work, progress to report.

About a third of the port side bottom is now back on, refastened with silicon bronze screws and 3M 5200. In other words, it ain't coming off again. Ever. As my mother used to say, "It's from here to the retirement home."

But I'm getting ahead of myself. Before the new plywood could go on, I needed to replicate a replacement for the badly rotted section above the keel, which I have since learned is called the keelson. (removing the keel is the highlight of the previous post).

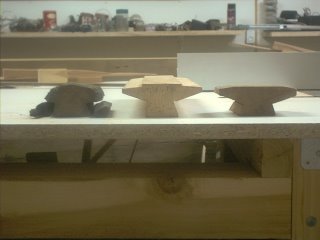
I used a fairly intact piece as a template to fashion a test replacement out of pine. I didn't want to risk any Philipine mahogany until I was sure I had the angles and dimensions down. As it turned out, the test piece wasn't exactly right, so this was time well spent.


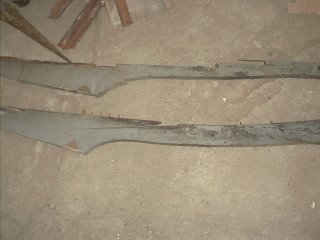
From left to right: the pieces of the original keelson, the test piece, and the finished piece.


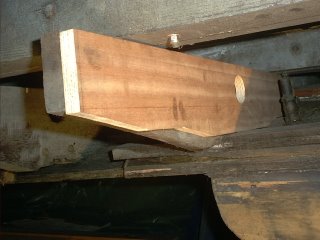
The second eight foot section of keelson, which will go on after the bow section of bottom is removed.


I mounted the first section of keelson using, silicon bronze fasteners and 3m 5200. Once it was cured I was able to block up the boat again, easying my nerves about letting that much weight float free.


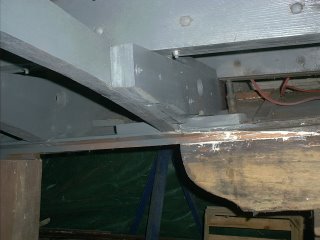
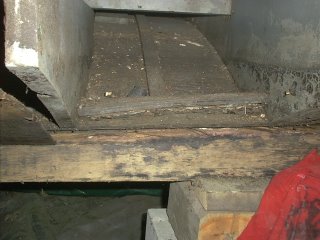
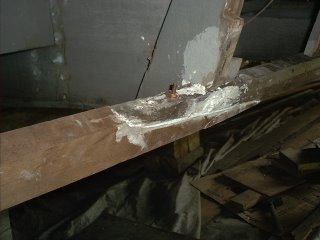
New keelson meets old. I also replaced the block immediately above, which was badly rotted. I then sprayed on some bilge paint, for the factory-fresh look. I needed to see some progress over what this was looking like just a few weeks ago:


Ugh.


Now, on to the real work: getting some planks back on. First, we glued and stapled the plywood into place.


Seven planks on, many, many more to go.

Tuesday, August 29, 2006

The Doomsday Machine

For those who don't think the keel of the a cabin cruiser can resemble an intergalactic planet killer, I offer this photographic evidence:
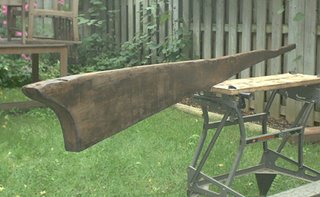

The keel


The Planet Killer

And coincidentaly enough, the name of the ship the Doomsday Machine laid waste to is, you guessed it:


The Constellation.

Not to get ahead of ourselves. Keels do not remove themselves, nor do they often need to be removed. But this Constellation, like its Starfleet counterpart, is a mess.

Segments of the keel were collapsing into the hull at the points where it was blocked up. This told me there were some serious rot issues at the top of the keel. Falling back on first principles, I decided to take the most invasive (and time-consuming) approach to ensure that the problem is fixed properly. That meant pulling off the entire section of bottom along the keel, which revealed a whole whack of ugliness, as addressed in earlier posts.

To drop the section of keel in question, I had to remove blocks from a fourteen foot length of the middle of the boat. To improve structural integrity before I shifted the load of the boat to such a significant degreee I elected to first reattach the entire port side planks above the chine with 3m 5200 and silicon bronze fasteners.
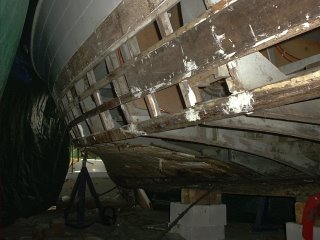

Before...


...and after. The numbers written in black above the waterline are reminders of which screw length to use. Earlier mistake, lesson learned.

Shifting that much load is an exercise in structural engineering, and I am not a structural engineer. After much thought, I used four three-ton jacks at the chine to carry some of the load midships. I also blocked the keel at the bow and immediately aft of the section to come off. Removing the blocks midships took some work with a six-ton hydraulic jack. Some scary creaking, but no limbs lost.

From that point, it was a relatively simple matter of loosening the bolts and gentling prying the keel loose of its caulking.
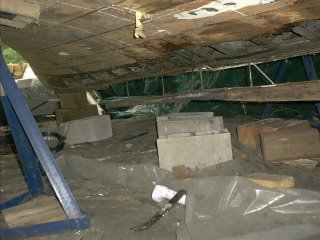

The keel coming off. One of the three ton jacks can be seen on the left. I bought these at the beginning of the project, for what seemed too much money, but they have proved invaluable.

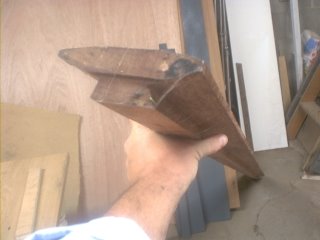
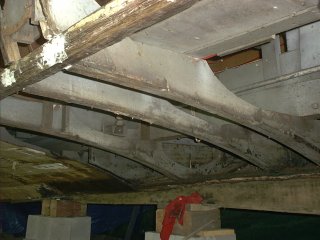
Next, it was time to see what exactly the trouble was. It became pretty apparent pretty quickly. The keel sits on another section of Philipine mahogany that essentially forms the bilge. After forty years of life and too many years on blocks, it has rotted and warped into a mushroom shape. Fabricating a replacement will be a challenge.
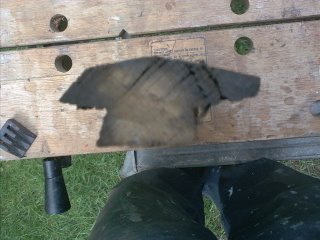

Not a great photo, but this is a section of the rotted upper keel (should I be calling it another name) on my WorkMate bench.

I realize this warping is caused by a gap in the frames at the point where the meet the keep. At first this seems like a design flaw, but then I realize: it is a channel for bilge water to flow to the lowest point in the boat. No wonder it rotted; this wood has been soaking in water and oil four forty years.

There is more damage to repair, and it takes priority, because it forms the structure between the keel and the chine. Two frames have badly deteriorated. I removed them and reassembled them on fresh, thick (1 7/8) lumber. Rather than cut the lumber down to match the original, I choose to keep it thick. I don't want this happening again.
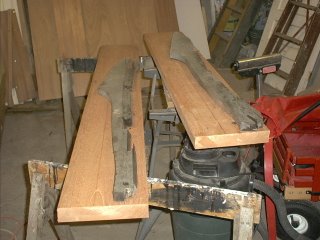
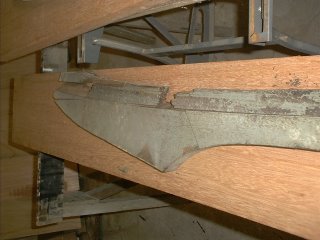


The scale of the new wood may seem like overkill, but it was the thinnest I could find in these dimensions. I'm saving every piece of scrap, it's sure to be needed later.

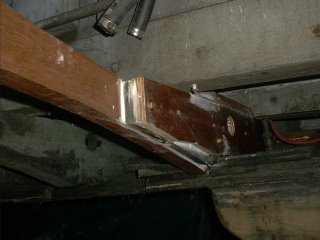
Next, I address a very scary sight: I significantly deterioated centre section of frame. There is no way for me to remove this; instead, I decide to scribe a support piece and use 3m 5200 to join it to the damaged section.
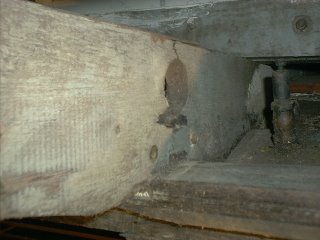

Scary crack, waiting for...


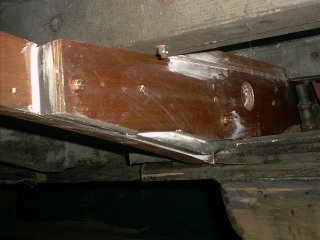
...new wood to the rescue

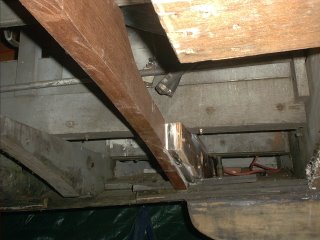
Some CPES, 3m 5200 and silicon bronze threaded rod later, this section is repaired, and after it cures, I can get about removing and replacing the first section of upper keel.

Thursday, June 15, 2006

Summer Season in Full Swing

...which for most boaters means days and nights of cocktails on the high seas. For me, humble, naive restorer of rare cabin cruisers, it means days and nights of dirt, grime, grit, sweat, cursing, weeping, and of course (wait for it!) gnashing of teeth.

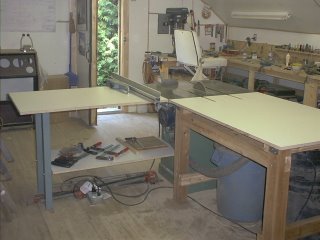
But on the positive side: I have a new table saw, a General 350:


More good news: mucho progress on the bottom and the cabin windows.


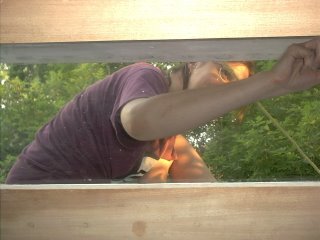
Helper Amanda works on trimming the excess 3M 4200 from around the reconstructed front windows. These windows are totally rebuilt, based on photographs and some fragements of badly rotted plywood.

More detail on the windows to follow in the fall Brass Bell.
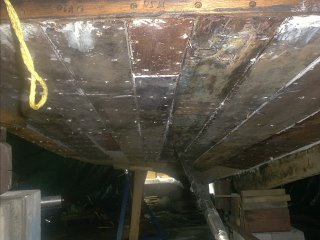
Here are some photos of the bottom work. First, the big success born out of many hours of labour: we pulled a big section of bottom off.


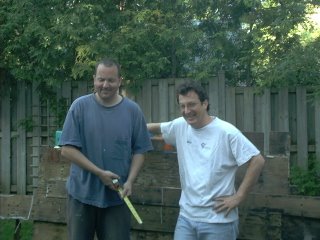
Helper Greg and I compare... waistlines. Behind us is the section of plywood bottom, with some planks still attached.
Again, the stated goal for this year is to have the port completely removed, inspected, repaired, epoxied and reattached. That includes dropping the mid-section of the keel for some much-needed repair of very, very ugly stuff.


This section of keel will have to be removed so I can replace the piece that sits between the keel and the bottom of the frames. It is badly rotted along about a 14 ft length. This have obviously spent a lot of time under water.

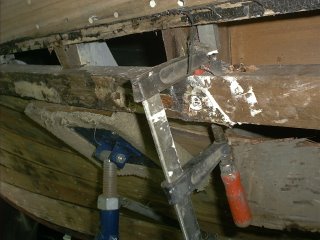
More ugliness in two of the frames. Both are badly cracked and will have to be replaced. (the previous owner had repaired them in place, none too well). The good news: the pieces fit together like a puzzle and will make excellent templates.


Now, to end on a high note. I have replaced a 10 ft section of chine milled to match the original as closely as possible. To tie it into the existing chines I used more silicon-bronze threaded rod and 3M 5200. The new chine is also tied into the existing frames with more rod and 5200.


Tuesday, March 28, 2006

Okay, this has nothing to do with the boat...


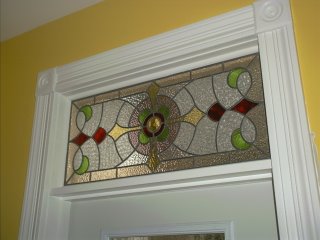
but I finally finished the kitchen, officially, with the installation of a stained glass transom light. The weather side is protect by a double-paneed low-e glass pane caulked into place.

Wednesday, March 22, 2006

Salon Bridge Station

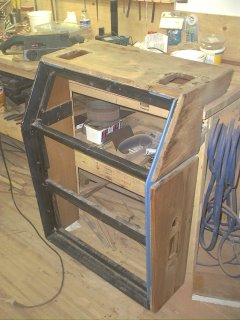
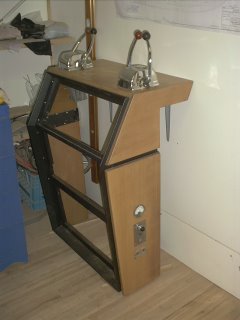
For another fun winter project, I pulled the bridge station out of the salon and hauled it up to the workshop. It stands about the height of a lecturn.


It was in fairly rough shape, with a fair amount of water staining. I stripped the surviving varnish, bleached it several times, then pulled the screws from each section to remove it from the black interior frame. I painted the frame, then stained and varnished the mahogany pieces. The finished result turned out nicely.


I've given it a place of honor in the workshop. The instruments and panels are next.

Thursday, February 16, 2006

V-Berth Cabinets

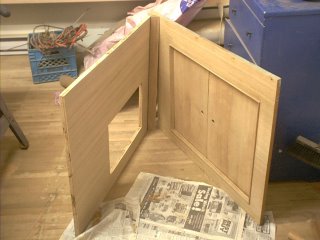
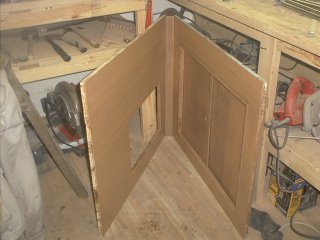
Another winter project almost complete. The v-berth cabinets are stained with Cordova filler stain and varnished with Interlux Goldspar satin varnish. The new and old side match pretty well. I'll now store them until they can be installed in the boat, hopefully next fall, after the port bottom work is complete.


The v-berth the way it looked at the beginning of the project.


The wood cut and bleached. The section on the right is original, the section on the left new. .


The wood stained and varnished.