Refastening the Bottom - Part 1
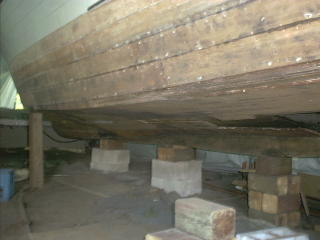
There's no more putting it off. Since I'm now the proud owner of 6000 silicon bronze screws, it's time to start wailing on the hull.
Deciding what method to use is like deciding what is the one true faith: ask ten people and you'll get ten answers. I have heard everything from "Leave it the way it is and let it soak up" to "Epoxy and 3M5200 everything."
I've thought long about it and have decided on a modified approach. I want the bottom soak-proof to make the boat as low maintenance as possible. Also, I've decided to replace every fastener with silicon bronze. The existing screws are #8 brass Phillips head (original, and deteriorated) and #10 stainless steel Phillips (replacements put in by the previous owner). The screws I'm using are #10 silicon bronze Robertson head (or square drive, as they're called in the States) from McFeely's. They'll sell in quantities 0f 3000 are a significant savings over boxes of 100. Check out a great article on the advantages of the Robertson screw here.
I know many people, including professional restorers, are comfortable using stainless steel. I'd rather not take the chance that they'll oxidize, even though the boat will live in the fresh water of the Lake Huron. Here's a good thread from Don Danenberg's forum on the potential problems with stainless. Also, I have no way of telling what grade the stainless is. Since I'm doing the project for the long haul, I'd rather not take any chances.
Regarding 3M, I've decided to use it to reattach new sections of plywood and to caulk between the planks, but not between the planks and the plywood as a moisture barrier. I'll rely on Smith's CPES and a good barrier coat to keep the water out. My worry is that if I ever have to remove a plank, I'd end up ripping the plywood off.
(Canadians can buy CPES from BCS in Millbrook.)
Enough with the theorizing, it's time to get to work.
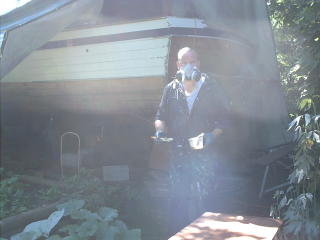
Step 1: Epoxying the back side of the planks and the new section of marine plywood with CPES. Good time to own rubber gloves and a repirator with an organic vapour filter.
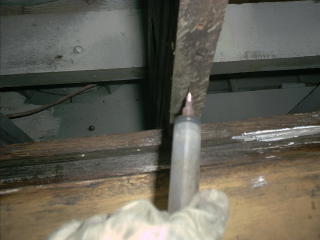
Step 2: Injecting CPES into the old screw holes in the frames.
I emailed Steve Smith asking if I should wait until the CPES dries before I insert the new screws. Here was his response:
"Interesting question.
It will definitely soften the wood fibers where the screw bites in, and the screw threads in wood may strip more easily. on the other hand, it should seal off the damaged wood fiber bundles and make it more rot resistant, and to do that it needs to be wet when you run the screws in. Just do them carefully, with the drill clutch [if you use one] set to not-quite bottom them, and seat them all by hand. wood varies a bit in its texture and resistance to screws, and silicon bronze screws can break if overstressed, as a mindless drill clutch can."
This is precisely what I did, and it worked great.
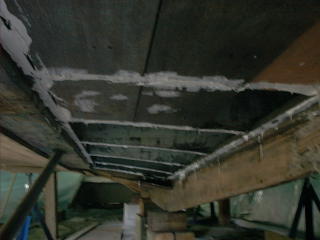
Step 3: I applied the 3M 5200 to the bottom of the frames, then used a brad nailer to tack the new plywood in place.
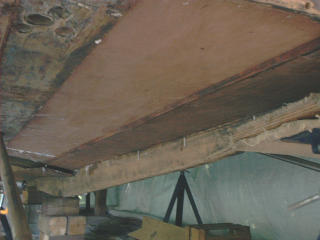
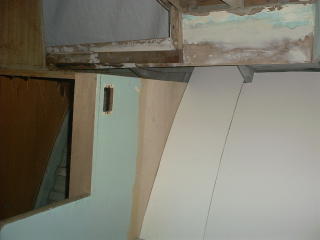
The end result: the first plank in place. The chalk lines on the keel indicate the frames.
Now, repeat about fifty more times.
